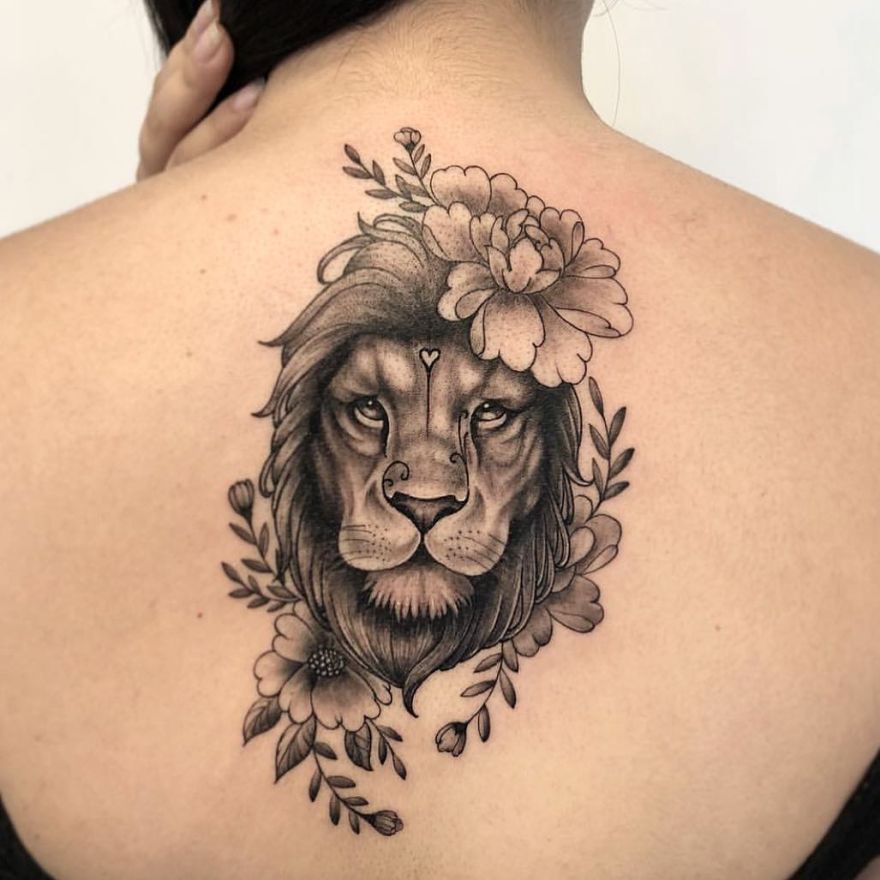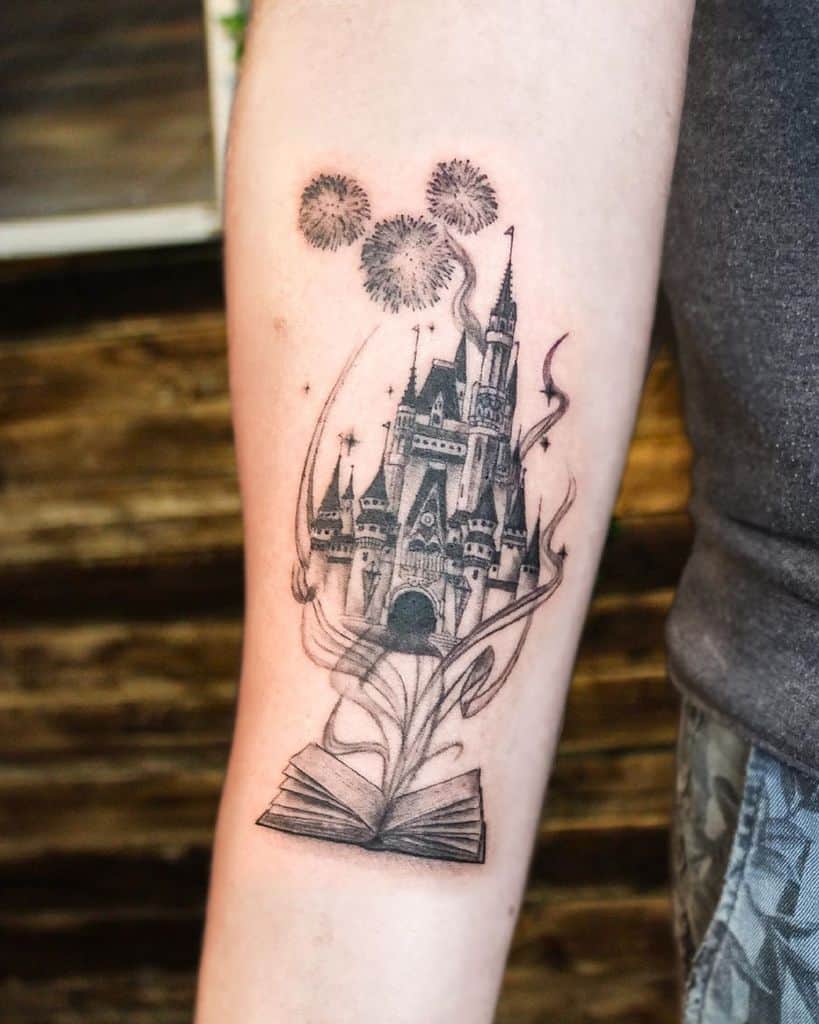
Tattoos can be a fantastic way to express yourself and overcome negative body image issues, reminding us that beauty does not depend on others for its definition. If you are considering getting a tattoo, it is essential that you properly prepare. This includes setting aside an area for tattooing that is clean and sterilized.
1. You need to know how to use a tattoo gun
Before using a tattoo gun, there are various steps you must take. First and foremost is sterilizing all machine parts and ensuring that needles are the appropriate sizes – smaller needles are better for line work. In contrast, larger ones allow shading and coloring techniques. Once these requirements have been fulfilled, testing the gun on fruit or synthetic skin should ensure its correct functioning and puncture depth
.
You can start drawing your design once your tattoo gun is in place. Remember that tattooing is an exact art; press only a little hard into the skin when using your needle to avoid bleeding and losing precision. Furthermore, do not put any lotion onto the area where you will be tattooing, as this could block pores and compromise precision.
2. You need to know how to draw your design
Once you have an idea for a tattoo design, use a pen and ruler to sketch an outline on paper using a pen. This will ensure the design placement on your skin will be correct. Once your drawing is complete, you can apply ink directly onto your skin. Baby powder may help ensure a more secure experience as it keeps things dry and safe.
It’s essential that when applying ink, it be used slowly and consistently. Rushing can result in errors; additionally, too much ink can cause it to bleed from your tattoo. Practice drawing tattoo designs is also crucial. Doing this will allow you to hone your skills and craft more intricate tattoo designs, which is something drawing classes or short-term/long-term courses can do. Finding an art tutor who can guide your lessons in drawing can also be helpful.
3. You need to know how to shave your skin
Shaving is necessary for tattooing, so you must know how to perform this essential task correctly. Use a new razor and skin-friendly shaving cream, as older razors may contain bacteria, which could pose issues for your newly healed tattoo. Shaving can also prevent patchy hair growth, making the results of your tattoo appear even.
After about a week or so, your tattoo may begin to peel and flake – this is entirely normal and indicates the body’s healing process. Be careful when picking at any flaking or scabbed areas, as it could cause its color to fade more rapidly than anticipated. Once your tattoo has healed, you may resume shaving, but use a gentle razor and shaving cream that is kind to your skin. In addition, be sure to moisturize it regularly to maintain hydration and health in the area.
4. You need to know how to apply the ink
No matter the method you employ to apply ink – tattoo gun or stick and poke – you must learn how to properly apply ink as otherwise you could risk infection or bloodborne pathogens. Before using needles, always ensure they are clean and sterilized correctly. Also, scrutinize them for any signs of damage, such as bent tips; these could potentially cause more bleeding and scarring tattoos. Ensure you keep an eye on how much ink you’re using. One drop can quickly ruin a tattoo design, so you must track how much ink is used and ensure enough for the entire piece. Use a sterile ink cup when mixing ink before applying it directly onto the skin – this will provide a consistent application without ruining designs! To test its consistency, use a plastic cup with a stirring stick.

